YouTube Studio: How To Use The Dashboard And Analytics Today
Categories: Legal Marketing Strategies
 Abram Ninoyan
Founder & Senior Performance Marketer
Credentials: Google Partner, Google Ads Search Certified, Google Ads Display Certified, Google Ads Measurement Certified, Google Analytics (IQ) Certified, HubSpot Inbound Certified, HubSpot Social Media Marketing Certified, Conversion Optimization Certified
Expertise: Google Ads, Meta Ads, Conversion Rate Optimization, GA4 & Google Tag Manager, Lead Generation, Marketing Funnel Optimization, PPC Management
LinkedIn Profile
YouTube Studio is where every channel owner goes to upload videos, track performance, and manage content, and if you're a law firm investing in video marketing, it's a tool you can't afford to ignore....
Key Takeaways
- YouTube Studio: How To Use The Dashboard And Analytics Today
- What YouTube Studio is and how to access it
- Step 1. Set up your dashboard and channel defaults
- Step 2. Upload, optimize, and schedule a video
YouTube Studio: How To Use The Dashboard And Analytics Today
YouTube Studio is where every channel owner goes to upload videos, track performance, and manage content, and if you're a law firm investing in video marketing, it's a tool you can't afford to ignore. At GavelGrow, we help attorneys build digital strategies that drive signed cases, and video content is one of the most effective ways to establish authority in your practice area while connecting with potential clients who are actively searching for legal guidance.
But here's the thing: publishing a video is only half the job. Understanding how that video performs, who's watching it, and whether it's actually generating results requires you to know your way around the dashboard. That's where most attorneys (and their marketing teams) hit a wall. YouTube Studio packs a lot of features into one interface, and without a clear walkthrough, it's easy to miss the data that matters most.
This guide breaks down exactly how to access YouTube Studio, navigate its dashboard, and use its analytics to make smarter decisions about your video content. Whether you're posting your first client FAQ or managing a library of case result breakdowns, you'll walk away knowing how to put this platform to work.
What YouTube Studio is and how to access it
YouTube Studio is Google's official content management hub for YouTube channels. It replaced the older Creator Studio in 2019 and now serves as the single location where you upload videos, review analytics, respond to comments, and configure channel settings. Think of it as the control room behind your public channel page. Everything viewers never see, you manage from here.
If you're using YouTube for your law firm's marketing, YouTube Studio is where your content strategy either gains traction or stalls out.
What the platform actually contains
The dashboard inside YouTube Studio is split into several core sections, each serving a distinct purpose. When you log in, the left-hand navigation panel gives you access to Content, Analytics, Comments, Subtitles, Monetization, Audio Library, and Settings. The main dashboard surface shows a quick snapshot of your latest video's performance, recent subscriber movement, and any direct notifications from YouTube's support team.
Here's a breakdown of what each main section handles:
How to get into YouTube Studio on desktop and mobile
Accessing YouTube Studio on desktop takes just a few clicks. Go to studio.youtube.com in any browser and sign in with the Google account connected to your channel. You can also reach it by clicking your profile picture in the top-right corner of YouTube.com and selecting "YouTube Studio" from the dropdown menu that appears.
On mobile, Google offers the YouTube Studio app for both iOS and Android, available through the Apple App Store and Google Play. The app covers most core features including analytics, comment moderation, and basic video management. Some advanced tasks, like editing end screens or uploading custom thumbnails with full control, work better on the desktop version, so plan to use both depending on what you need to accomplish.
Once you're inside, you'll land on the main dashboard, which gives you a real-time snapshot of your channel's recent activity. Take a moment to orient yourself with the left navigation panel before jumping into any specific feature. The sections connect to each other in logical ways, so knowing the overall layout first saves you significant time when you start working through each step below.
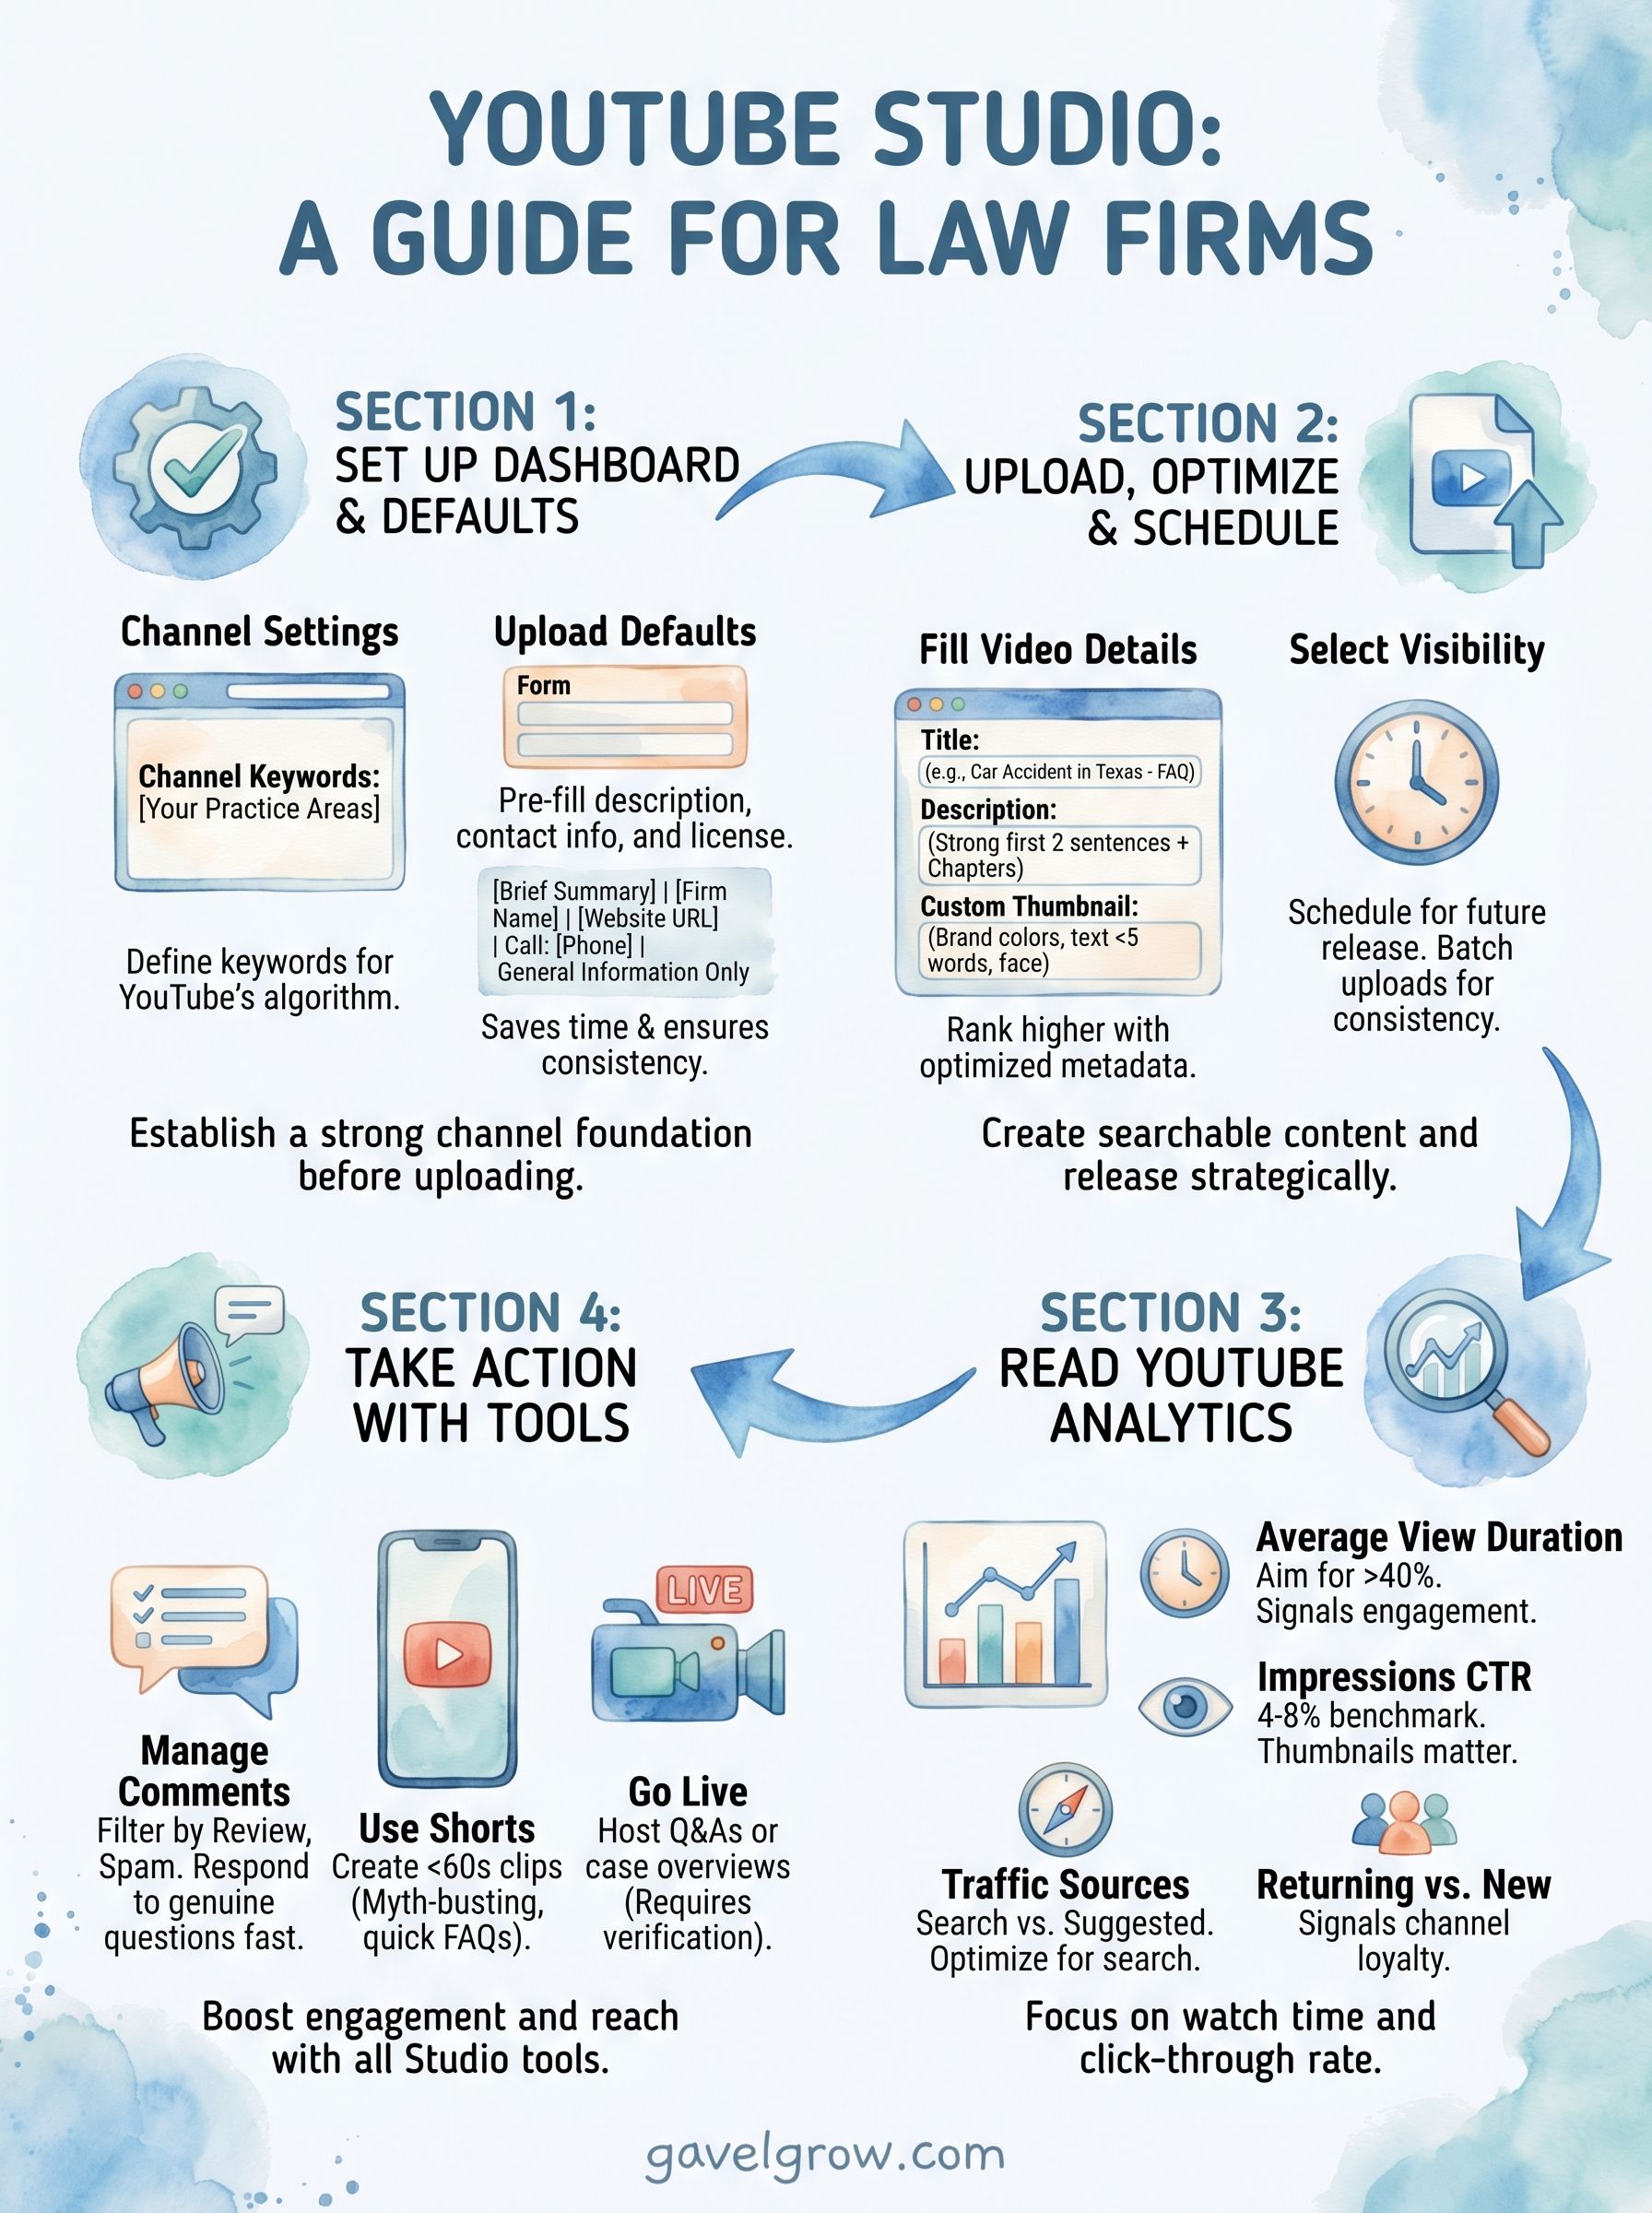
Step 1. Set up your dashboard and channel defaults
Before you upload a single video, take 15 minutes to configure your channel settings and upload defaults inside YouTube Studio. Skipping this step means you'll manually fill in the same information every time you publish, which wastes time and creates inconsistent descriptions across your video library.
Configure your channel settings
Navigate to Settings in the left panel, then select "Channel." You'll find two important tabs: Basic info and Advanced settings. Under Basic info, confirm your channel keywords match your practice area. For a personal injury firm, something like "personal injury attorney, car accident lawyer, legal advice" tells YouTube what your content covers at the channel level. Under Advanced settings, set your audience designation (confirm your content is not made for kids, which applies to most law firm channels) and connect your Google Ads account if you plan to run video ad campaigns alongside your organic content.
Getting your channel-level settings right from the start gives YouTube's algorithm better context for every video you publish.
Set your upload defaults
Click Settings, then select "Upload defaults." This section lets you pre-fill standard information that applies to most or all of your videos. Fill in a default description template that includes your firm's contact information, practice areas, and a clear call to action. Here is a simple template you can adapt directly:
<code>[Brief video summary - customize per upload] [Your Firm Name] | [City, State] Practice Areas: [List your areas] Call us: [Phone Number] Schedule a free consultation: [Website URL] This video is for general informational purposes only and does not constitute legal advice. </code></pre> <p>Also set your default license to "Standard YouTube License" and your category to "Education" or "People & Blogs," both of which fit legal content well. Configuring these defaults once now saves you from manually entering contact details on every future upload and reduces the risk of accidentally publishing a video without a way for potential clients to reach your firm.
Step 2. Upload, optimize, and schedule a video
Once your defaults are in place, you're ready to publish your first video. Inside YouTube Studio, click the "Create" button (the camera icon with a plus sign) in the top-right corner of the dashboard, then select "Upload videos." You can drag and drop your file directly into the upload window or browse your local files to select it. YouTube accepts MP4, MOV, and AVI formats, and MP4 with H.264 encoding gives you the best balance of quality and file size.
Fill in your video details
While your video uploads, the details form appears, and this is where you define how your video ranks in search results. Start with your title: keep it under 60 characters, lead with the topic, and include a location or practice area where natural. For example, "What to Do After a Car Accident in Texas" performs better than "Attorney FAQ Video #3."
Your description should open with strong first two sentences that summarize the video clearly, because that text appears in search snippets before the "show more" cutoff. Paste your default description template here, then customize the first paragraph for this specific video. Add chapter timestamps if your video covers more than one distinct topic, as YouTube indexes these and makes your content easier to navigate for viewers.
Thumbnails drive click-through rates more than almost any other single factor, so upload a custom image rather than relying on an auto-generated still frame.
For thumbnails, YouTube recommends a 1280x720 pixel image in JPG, GIF, or PNG format under 2MB. Use your firm's brand colors, keep any text to five words or fewer, and show a clear face where possible.
Schedule your video for a specific date and time
After completing your details, scroll to the "Visibility" section at the bottom of the panel. Instead of selecting "Public" immediately, choose "Schedule" and pick the exact date and time you want the video to go live. This approach lets you batch your uploads on one day and release videos consistently throughout the week without logging back in each time.
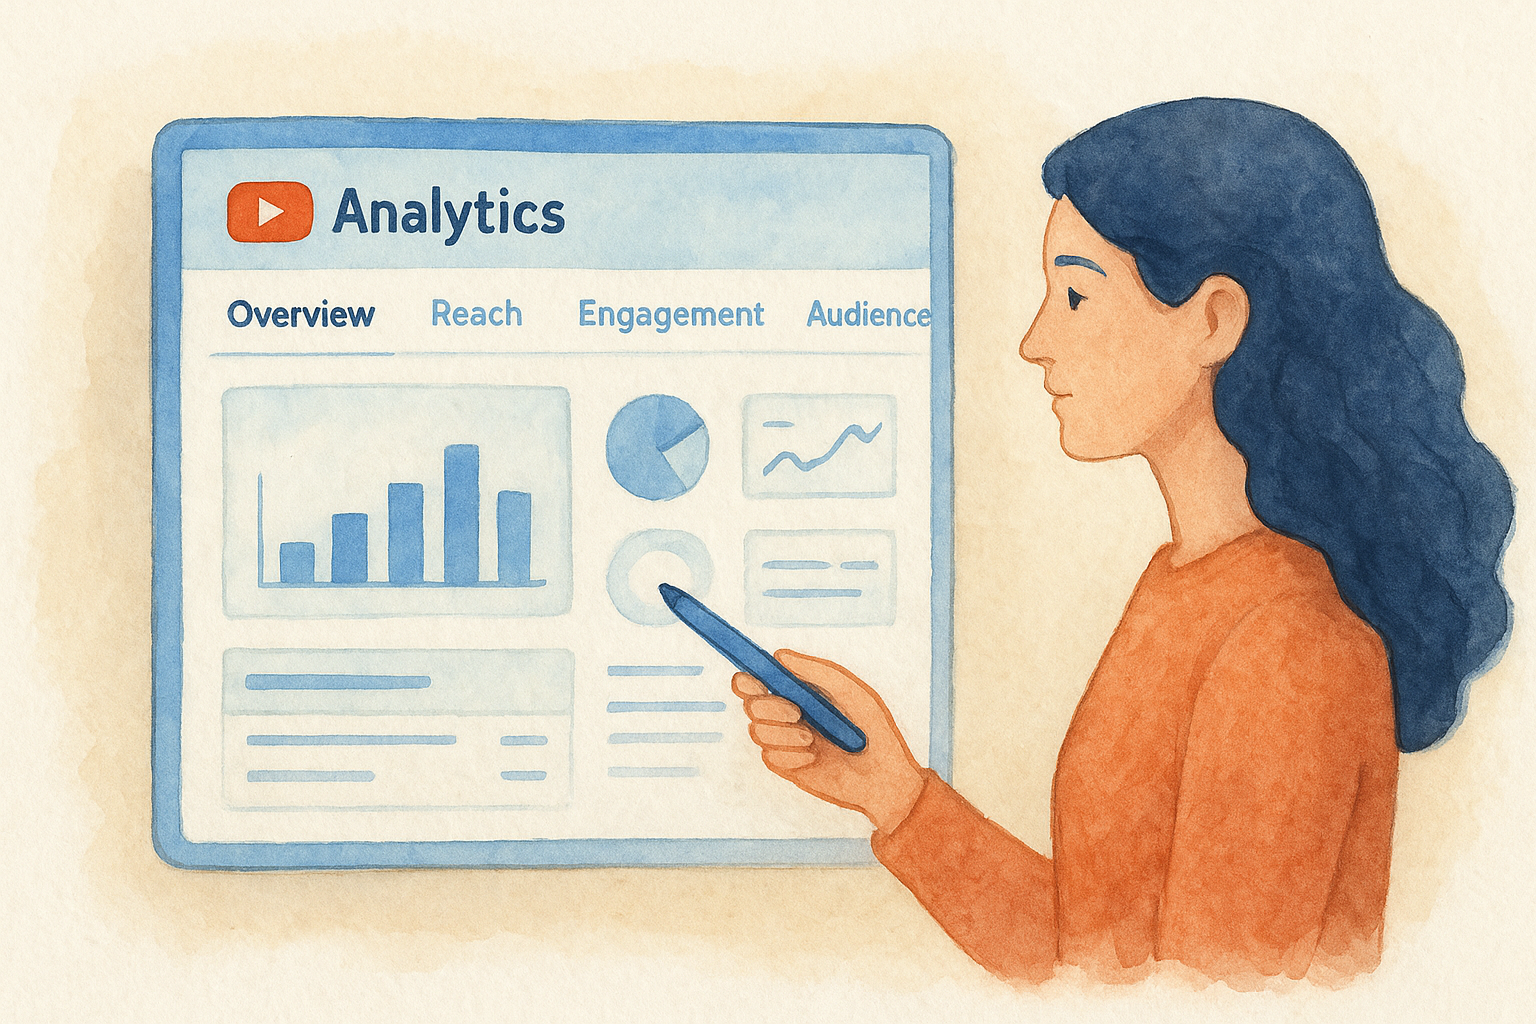
Step 3. Read YouTube Analytics without getting lost
YouTube Studio's Analytics section can feel overwhelming the first time you open it. You'll see tabs labeled Overview, Reach, Engagement, Audience, and Revenue, each packed with graphs and numbers that don't immediately signal what you should do next. The key is knowing which three or four metrics actually connect to your law firm's goals, and ignoring the rest until you've built a baseline of data.
The metrics that matter for your channel
Start every analytics review on the Overview tab, which gives you a rolling snapshot of views, watch time, subscribers, and estimated revenue if applicable. For a law firm channel, focus on watch time in hours and average view duration rather than raw view counts. A video with 200 views and 4 minutes of average watch time is doing more work for you than a video with 800 views and 40 seconds of average watch time. Longer watch time signals to YouTube that your content is worth recommending to more people.
Watch time is the single metric that influences how often YouTube suggests your videos to new viewers, so prioritize it above everything else in your early reviews.
Use the table below to guide your first analytics review session:
How to use the Reach tab to improve your content
Click the Reach tab and scroll to "Traffic source types." This breakdown shows you exactly how viewers found each video, whether through YouTube search, suggested videos, external websites, or direct links. If search drives most of your traffic, your titles and descriptions are working. If suggested video traffic is low, your thumbnails likely need stronger visual contrast to earn clicks when your video appears alongside other content.
Step 4. Take action with comments, Shorts, and live
YouTube Studio gives you three high-impact tools beyond standard video uploads: comment management, Shorts publishing, and live streaming. Most law firm channels use only a fraction of what these features offer. Using all three consistently signals to YouTube's algorithm that your channel is active, which directly influences how often your content gets recommended to new viewers.
Respond to comments efficiently
Open the Comments section from the left navigation panel to see all viewer messages in one place. YouTube Studio lets you filter by "Held for review," "Likely spam," and "Published", so you can clear low-quality comments quickly and focus on responding to genuine questions. For a law firm channel, comments often include questions about specific legal situations. Reply with a brief, helpful answer and include a prompt to schedule a consultation rather than providing detailed legal advice in the comment thread.
Responding to comments within 24 hours of posting tells YouTube that your channel generates real engagement, which boosts your video's distribution.
Use the filter below to manage your comment workflow:
Use Shorts and live to expand your reach
YouTube Shorts are vertical videos under 60 seconds, and you publish them through the same "Create" button you use for standard uploads. For a law firm, Shorts work well for quick myth-busting clips, single-question answers, or brief explanations of common legal terms. These short videos surface in a separate Shorts feed and often reach viewers who would never find your longer content.
Live streaming inside YouTube Studio requires channel verification, which you complete under Settings by confirming your phone number with Google. Once enabled, you can go live directly from the dashboard. Consider using live sessions for Q&A sessions or case type overviews, then save the replay to your content library so it continues generating views after the stream ends.
Next steps you can take today
You now have a clear, working map of YouTube Studio from setup to analytics. The next move is putting that knowledge into action before it goes stale. Start today by logging into studio.youtube.com, setting your upload defaults and channel keywords, and scheduling your first video for the coming week. Then block 20 minutes at the end of that week to review your Reach and Engagement tabs so you can spot what's working before publishing your second video.
Video content works best when it connects to a broader digital strategy built around signed cases, not just views. If your law firm is investing time in YouTube but not seeing that effort translate into qualified consultations, the issue is usually a disconnect between your content and your intake process. The team at GavelGrow can help you close that gap with a strategy built specifically for your practice area and market.
Frequently Asked Questions
How do I access YouTube Studio for my law firm's channel?
Go to studio.youtube.com in any browser and sign in with the Google account connected to your channel. You can also click your profile picture in the top-right corner of YouTube.com and select "YouTube Studio" from the dropdown. On mobile, download the YouTube Studio app for iOS or Android, though some advanced tasks work better on desktop.
What YouTube Studio metric matters most for a law firm channel?
Watch time is the single metric that most influences how often YouTube recommends your videos to new viewers, so prioritize it over raw view counts. Focus on watch time in hours and average view duration on the Overview tab. A video with fewer views but longer average watch time is doing more work than one with many views and short retention.
Should I set up upload defaults in YouTube Studio before publishing?
Yes. Configuring upload defaults under Settings before your first upload saves you from re-entering the same information on every video and reduces the risk of publishing without contact details. Set a default description template with your firm name, practice areas, phone number, and a consultation link, plus a default category like "Education" or "People & Blogs."
How do I schedule a YouTube video to publish later?
After filling in your video details, scroll to the "Visibility" section and choose "Schedule" instead of "Public," then pick the exact date and time you want it to go live. This lets you batch several uploads in one session and release them consistently through the week without logging back in each time.
Where can I see how viewers found my law firm's videos?
Open the Analytics section, click the Reach tab, and scroll to "Traffic source types." This breakdown shows whether viewers found each video through YouTube search, suggested videos, external websites, or direct links. Strong search traffic signals your titles and descriptions are working, while low suggested-video traffic often means your thumbnails need stronger visual contrast.